Making timelapse video of my mini spinach farm using a RPi and a Webcam
What you need?
-
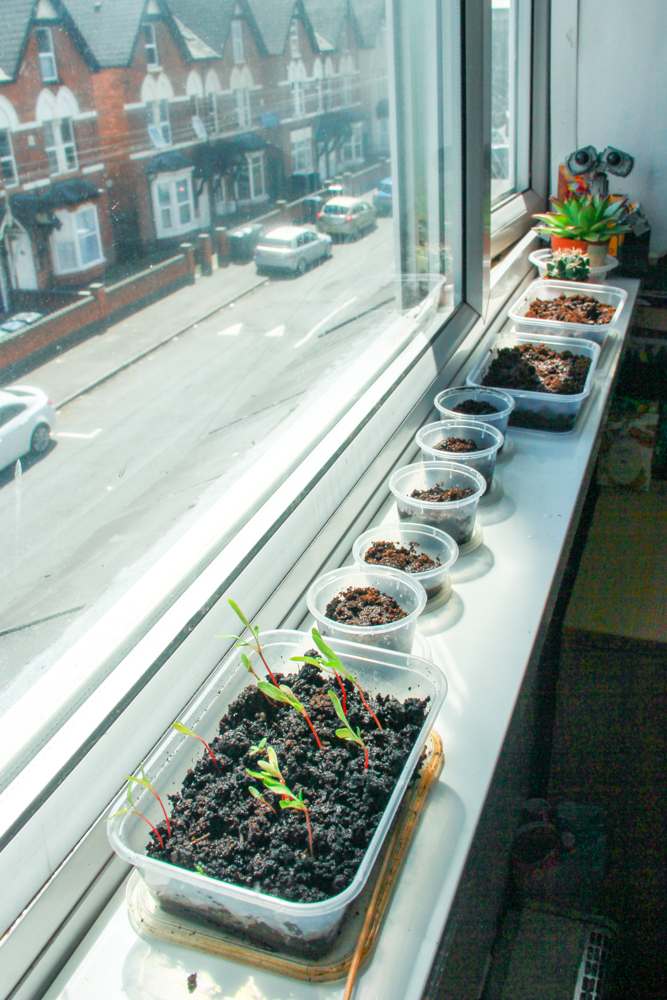
A Mini Spinach Farm
-
A Raspberry Pi 3
-
A Webcam
-
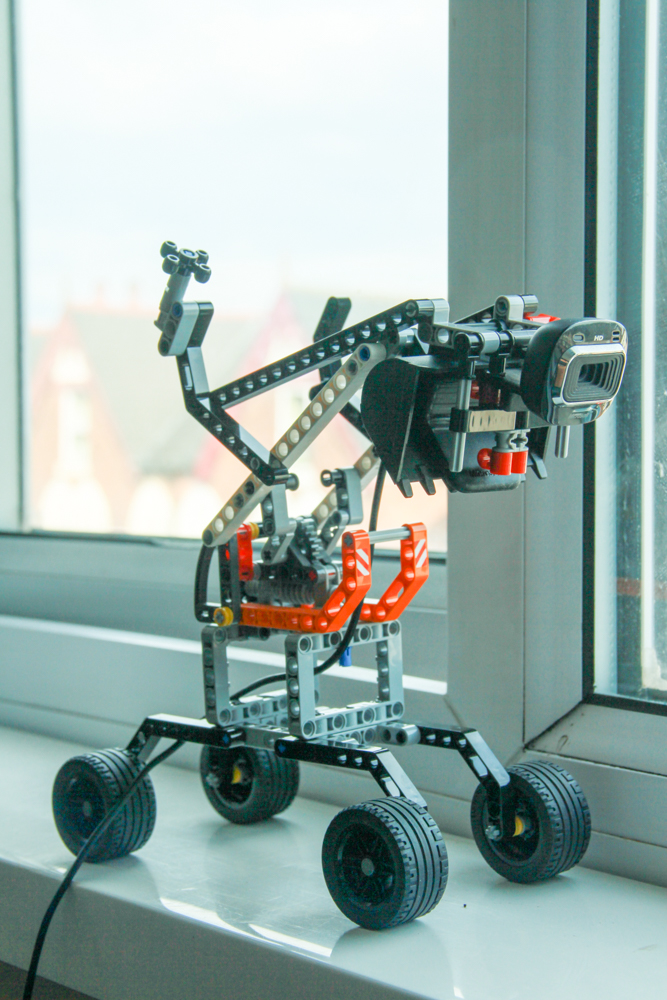
A Lego Camera Crane
Here we go!
End result to begin with
 |
 |
I don’t want to make a mega post so I have written several posts to cover all aspects. This is the technology one which is about how I set up RPi3 to take photos for timelapse. There will be another one on how I made my mini spinach farm. The design for the Lego Camera Crane will not have step-by-step guide until I finish the timelapse and able to unassemble the crane.
Hardware
I used a Logitech USB webcam so not much technical knowledge is required. As long as you can plug the USB into the right port, you’re set.
Software
I have tried several options to take videos and stream them online. I have decided that for now, while waiting for my seeds to germinate, I’ll just leave the RPi there to take 4 photos every hour and make a timelapse out of it.
I followed the guide in this post if you want some reference.
0. Disable Desktop GUI to save energy
For details, you can read this post
Basically, you need to launch raspi-config with
sudo raspi-config
Choose Boot Options » Desktop / CLI » Console Autologin Text console, automatically logged in as ‘pi’ user
This works for me as I can ssh into the RPi after boot.
1. Install fswebcam
Run this command
sudo apt-get install fswebcam
2. Write a bash script
I used the same method which is to wrtie a bash script to take photo and save it with the date and time as filename. To create a bash file, run:
sudo nano camera.sh
Copy the following script into the new file
#!/bin/bash

DATE=$(date +"%Y-%m-%d_%H%M")

fswebcam -D 2 -S 20 --set brightness=30% --set contrast=0%  -F 10 -r  640x480 --no-banner --no-underlay --no-overlay /home/pi/camera/$DATE.jpg
Note: I have changed the camera setting to improve photo quality, please see this post for more details.
Ctrl+X to exit, Y and Enter to save.
3. Change permission
In order to have the bash script executable, we must change the file permision
sudo chmod +x camera.sh
4. Create a folder for all the photos
The script will take the photos with the date and time as filename and save it to /home/pi/camera/. We haven’t create the folder camera yet. It’s time to create this folder
mkdir camera
5. Test the script
It’s time to run the bash file and expect to see a jpg in camera. Make sure you’re in the same folder as the bash file.
./camera
Navigate into camera to check, cd camera. You should see a jpg file in there.
6. Schedule to take photo
Cron is the popular option for this (actually, it’s a fool proof option). Open the cron table for editing:
sudo crontab -e
Note: when I opened cron table the first time, it prompted me to choose the editor. Just use nano if you have doubt.
I want to schedule camera.sh script to execute every 15 minutes so I added this line to the end:
0,15,30,45 * * * * /home/pi/camera.sh 2>&1
To schedule the script for every minute, just change into this instead
* * * * * /home/pi/camera.sh 2>&1
*means all values in the range.- If you specify a value, it will only execute the script at exactly that value.
- Multiple values can be listed and separated by comas as long as they are within the range.
7. Check if photos are taken
You can cd camera and then ls to see new files coming in. What you can also do is run watch ls which will run ls every 2 seconds by default. It will show you what’s new in the folder.
After checking everything is in order, just leave it there to run. I’ll probably give it a week since it took that long to see anything significant on my test batch of spinach.
I’m expecting 24x4x7 = 672 photos. If I set the framerate of the future timelapse to 24 fps, that would give me 28 seconds. Well, must be patient, I guess…
